
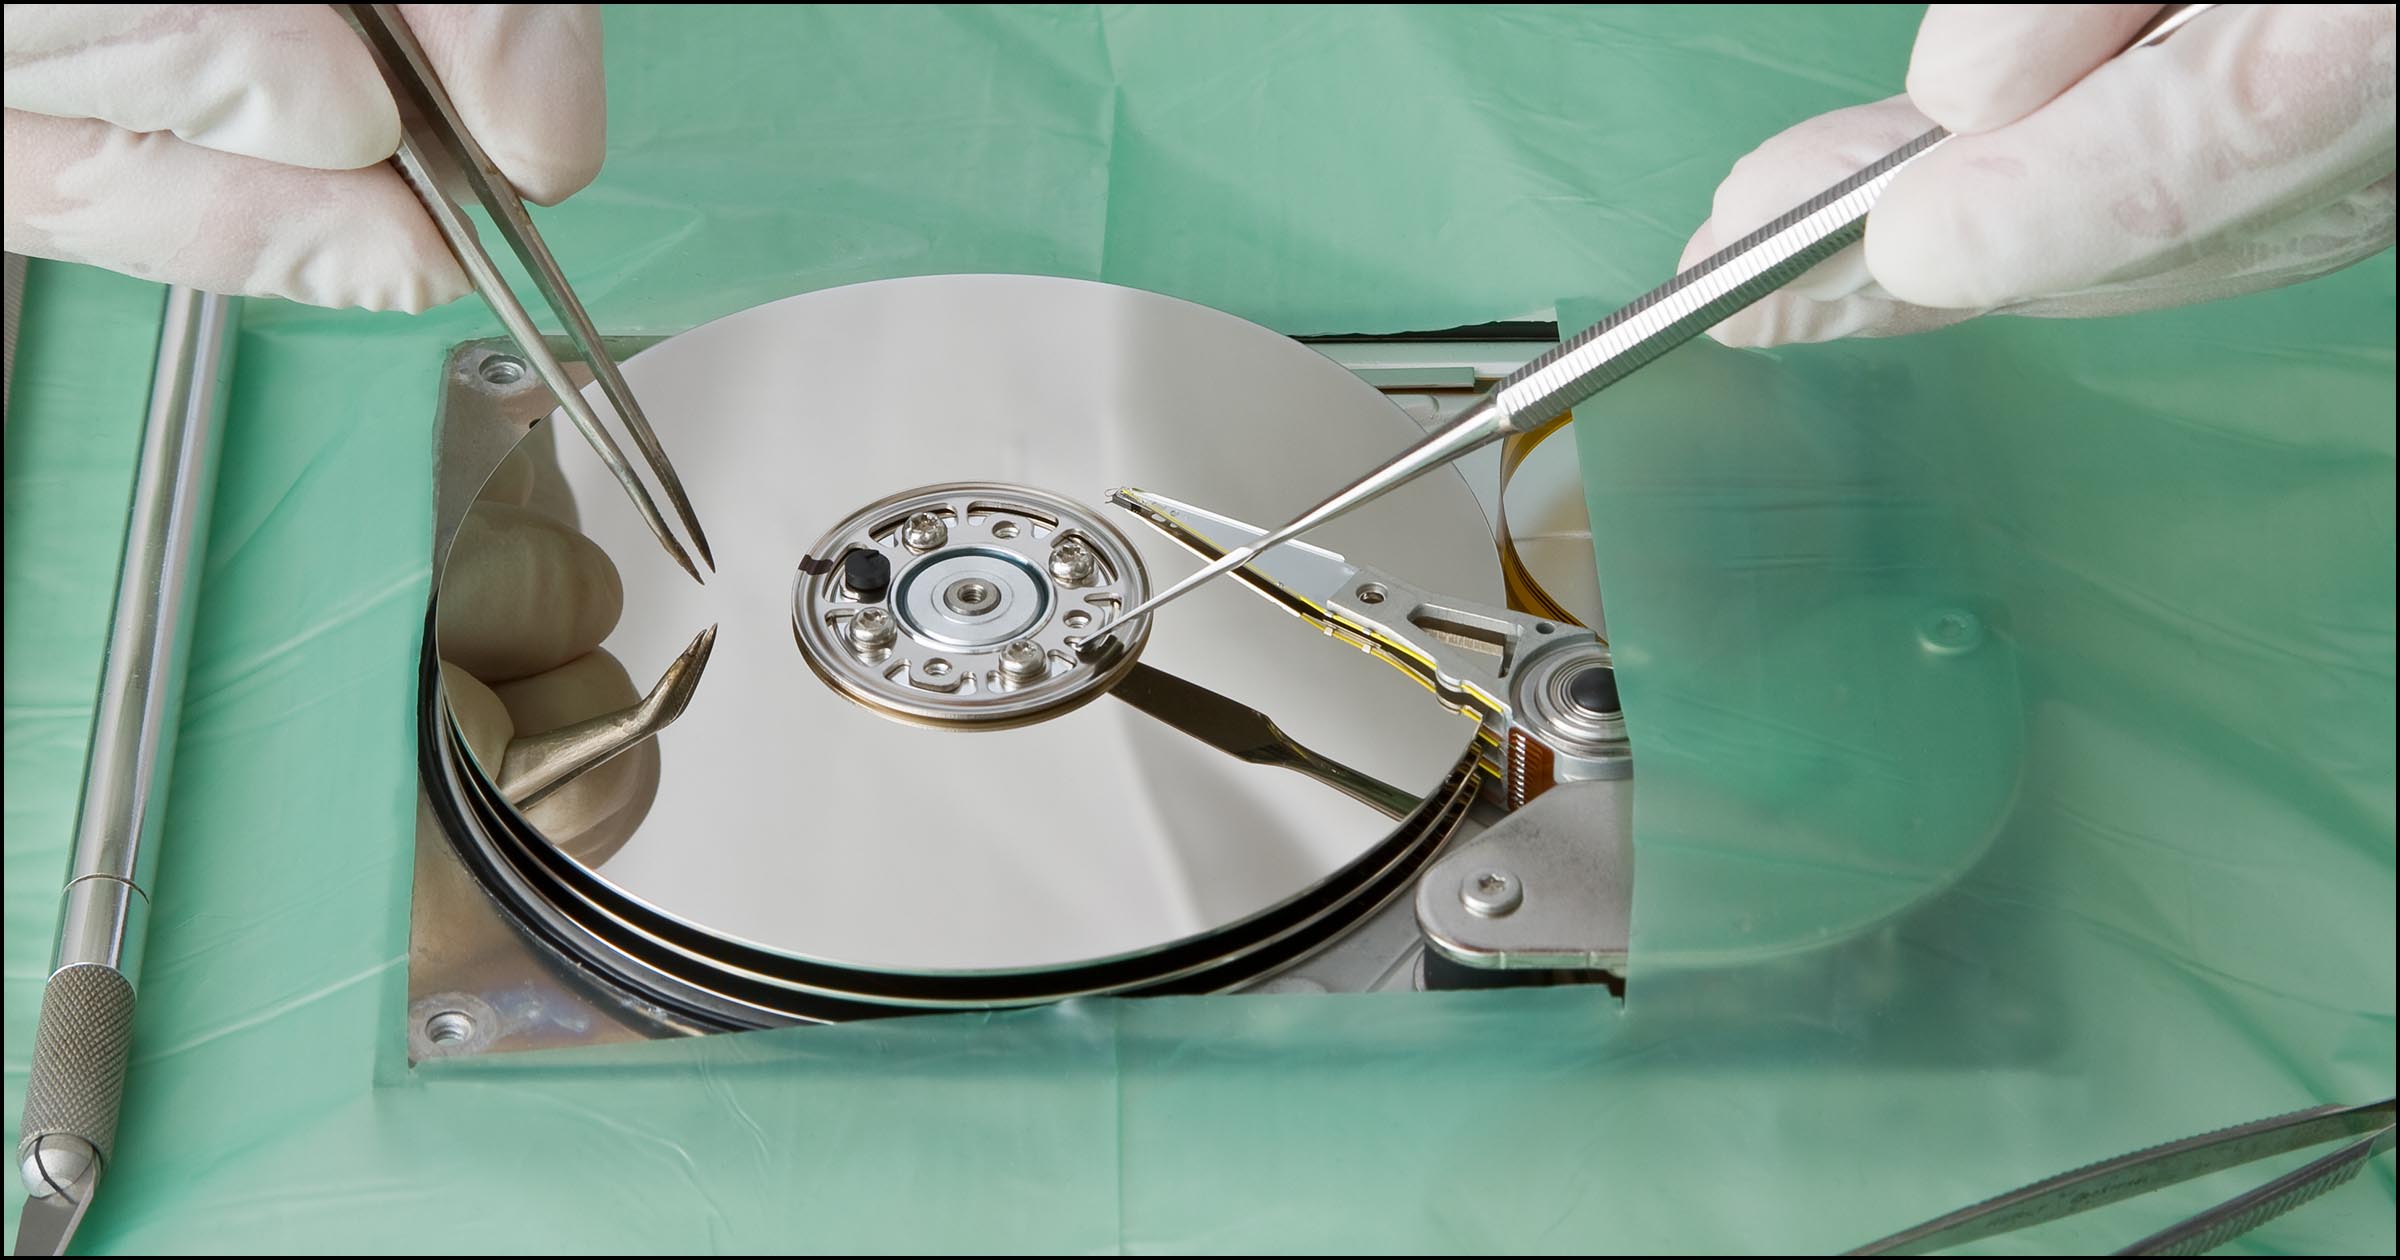
When it comes to safeguarding your data, one of the best practices is creating a disk image of your hard drive or SSD. This disk image acts as an exact replica of your drive, containing your operating system, programs, and personal files. It’s essentially a safety net for your data—ensuring you can recover it in the event of a system crash, drive failure, or other issues.
If you’ve previously created a disk image of your system, you’re already on the path to effective data recovery. Now, let’s walk through the process of restoring that system image to a new hard drive or SSD.
What Is a Disk Image?
A disk image is a complete snapshot of your hard drive or SSD. Unlike simple file backups, a disk image includes everything on your drive—the operating system, applications, settings, and all your personal data. This makes it a valuable tool for disaster recovery. When restoring a system image, you can return your computer to its previous working state, with all of your data intact.
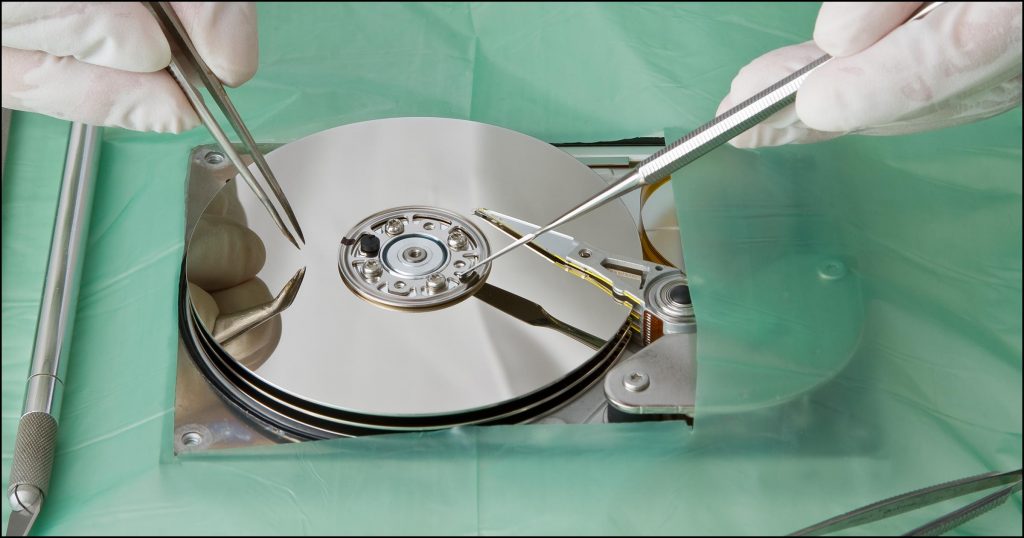
How to Restore a Disk Image to a New HDD/SSD
Whether you’re restoring from an old disk that has crashed, switching to a new drive, or simply trying to find your operational system again, restoring a disk image is a straightforward process. Below is a guide to help you restore your disk image to a new hard drive or SSD:
Step 1: Connect Your Storage Device
If your disk image is stored on an external device (such as a USB drive, external hard drive, or USB key), start by connecting it to your computer.
-
Insert the device containing your disk image (USB key, external hard drive, etc.).
-
Wait a few seconds for your system to recognize the device.
-
Once recognized, press Enter to continue.
Step 2: Identify the Source of the Disk Image
If your disk image is located on another partition of a local disk or a different location, you can proceed by simply pressing Enter. Your system should detect the partition and begin the restoration process.
Step 3: Wait for the Disk Detection Process
In case your storage device doesn’t appear immediately, give it a few moments for the system to detect the device. If, after waiting, the disk image is still not visible, try the following:
-
Press Ctrl + C simultaneously to exit the current window.
-
Allow time for the system to scan and detect all available storage devices, including your external storage device where the disk image is stored.
Step 4: Begin the Restoration Process
Once your disk image has been detected, follow the on-screen prompts to initiate the restoration process. Typically, this will involve:
-
Selecting the disk image file you want to restore.
-
Choosing the destination (which should be your new hard drive or SSD).
-
Allowing the system to begin the restoration process.
Step 5: Complete the Restoration
The restoration process will take some time, depending on the size of the disk image and the speed of your storage devices. Once completed, your new hard drive or SSD will be restored to the exact state it was in when the disk image was created. This includes the operating system, applications, settings, and personal files.
Additional Tips for Disk Image Recovery
-
Backup Regularly: It’s important to regularly back up your system and create disk images to prevent data loss. Consider using automated backup solutions to make this process easier.
-
Verify Disk Image Integrity: Before relying on your disk image for recovery, ensure the image is intact and not corrupted. Some recovery software includes tools to verify the integrity of your disk image.
-
Use Reliable Software: Tools like Clonezilla and other disk cloning software can help streamline the process of creating and restoring disk images. Be sure to use trusted software to avoid potential issues.
-
Test the Restoration: After restoring the disk image, test your system to make sure all your applications and files are functioning properly.
Conclusion
Restoring a disk image to your HDD or SSD doesn’t have to be complicated. By following the simple steps outlined above, you can quickly recover your operating system, applications, and data after a system crash, hardware failure, or other issues. Regularly creating and storing disk images is one of the best ways to protect your data and ensure that you can get back up and running with minimal downtime.