
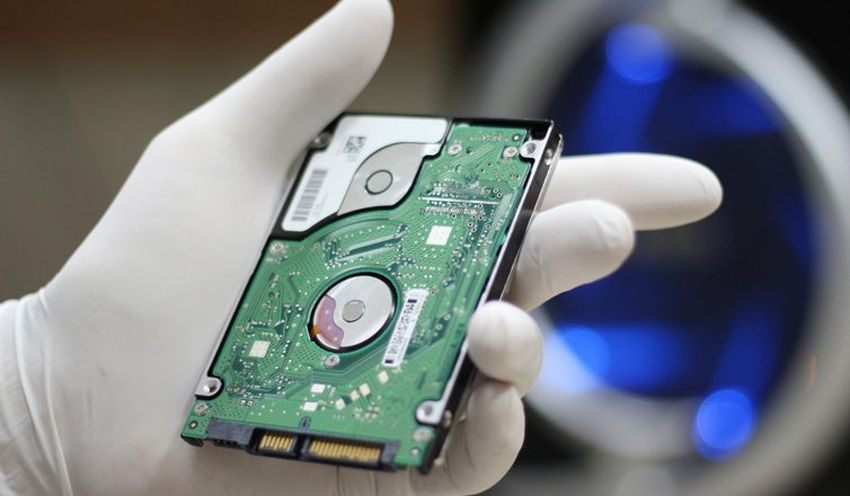
Accidentally deleting important files from your computer’s SSD (Solid State Drive) can be a frustrating experience. However, don’t panic—there are ways to recover your lost files, even if you’ve permanently deleted them. In this guide, we’ll walk you through the methods you can use to recover deleted files from an SSD drive.
Why SSD Recovery Can Be Tricky
When you delete files from an SSD, the data isn’t immediately erased. Instead, the space on the drive is marked as available for future data. Unlike traditional HDDs, SSDs use a process called TRIM to manage deleted files. This process can make recovery more challenging because once the space is overwritten, the data is usually gone forever.
That said, you still have a good chance of recovering deleted files from an SSD, especially if you act quickly and use the right tools.
Method 1: Restore Files from Recycle Bin or Backup
If you’ve accidentally deleted files but didn’t empty the Recycle Bin or perform a Shift + Delete, you can easily recover them from the bin.
Steps:
-
Open your Recycle Bin on your desktop.
-
Locate the file(s) you want to restore.
-
Right-click on the file and select Restore to restore it to its original location.
Alternatively, if you use a backup solution like Windows Backup, Time Machine, or a cloud service, you may be able to restore files from a recent backup.
However, if you’ve emptied the Recycle Bin or used Shift + Delete, these options won’t work, and you’ll need to resort to more advanced methods.
Method 2: Use Professional Data Recovery Software
If the files are permanently deleted or you’ve accidentally formatted your SSD, the next step is to use data recovery software. These tools are designed to scan your SSD for recoverable files, even if they’ve been deleted or the drive has been formatted.
Here are a few steps you can follow using data recovery software like Data Recovery Wizard (or similar tools):
Steps:
-
Download and Install Data Recovery Software:
-
Download and install reliable data recovery software on your computer. Some popular options include EaseUS Data Recovery Wizard, Recuva, or Disk Drill.
-
-
Connect Your SSD to the Computer (if External):
-
If your SSD is external, connect it to the computer using the appropriate cables.
-
-
Launch the Data Recovery Software:
-
Open the data recovery program and select the SSD as the drive you want to recover files from.
-
-
Scan the SSD for Deleted Files:
-
Choose the type of scan you want to perform. A quick scan can be faster but may miss some files, while a deep scan takes longer but can detect more recoverable data.
-
-
Preview and Recover Deleted Files:
-
Once the scan is complete, the software will display the recoverable files. You can preview the files (if supported) to ensure they are the correct ones.
-
Select the files you want to recover, and choose a safe location to restore them to (preferably not the SSD itself).
-
-
Save the Recovered Files:
-
After recovery, save the files to a different storage location to avoid overwriting any recoverable data on the SSD.
-
Tips for Successful SSD Data Recovery
-
Act Quickly: The sooner you attempt to recover your deleted files, the better your chances of success. Over time, SSDs may overwrite the deleted data, making recovery more difficult.
-
Avoid Using the SSD After Data Loss: If you continue using your SSD after data loss, the chances of overwriting the deleted files increase, making recovery less likely.
-
Use Data Recovery Software from Trusted Sources: Not all data recovery software is created equal. Choose reliable and well-reviewed programs to ensure the best results.
Conclusion
While data recovery on an SSD can be more complicated than on traditional hard drives due to the TRIM command, you still have a good chance of retrieving deleted files if you act promptly. If basic methods like restoring from the Recycle Bin don’t work, consider using professional recovery software like Data Recovery Wizard or others to scan your SSD and recover your important files.
Remember, always back up your important data regularly to prevent data loss in the future!